Step 1 In a small saucepan, melt the butter over low heat. Set aside to cool while preparing the remaining ingredients.
Step 2 Sift the powdered sugar and flour into a mixing bowl. In a stand mixer fitted with the paddle attachment, mix the dry ingredients and melted butter until incorporated. Beat in the egg whites, scraping down the sides and bottom of the bowl, just until the ingredients are combined.
Step 3Strain the batter through a fine-mesh strainer. Cover and chill at least 1 hour or overnight. Remove the chilled dough from the refrigerator; let stand 5 to 10 minutes to temper.
Step 4Heat the oven to 350 degrees. Use a piece of flexible cutting mat or material of similar thickness such as a plastic coffee can lid to make a template. Draw and cut a circle about 1 inch larger than the desired tuile size. Draw a circle within the template to desired size -- 4 1/2 inches, 3 1/4 inches or 2 3/4 inches. Cut out the circle with scissors, starting at the center of the template (you'll have to poke the scissors through the plastic).
Step 5Place the template on a Silpat-lined baking sheet. For 4 1/2 -inch circles, thinly spread 1 tablespoon of batter onto the template with a metal spatula. For 3 1/4 -inch circles, spread 2 teaspoons batter. For 2 3/4 -inch circles, spread 1 teaspoon batter.
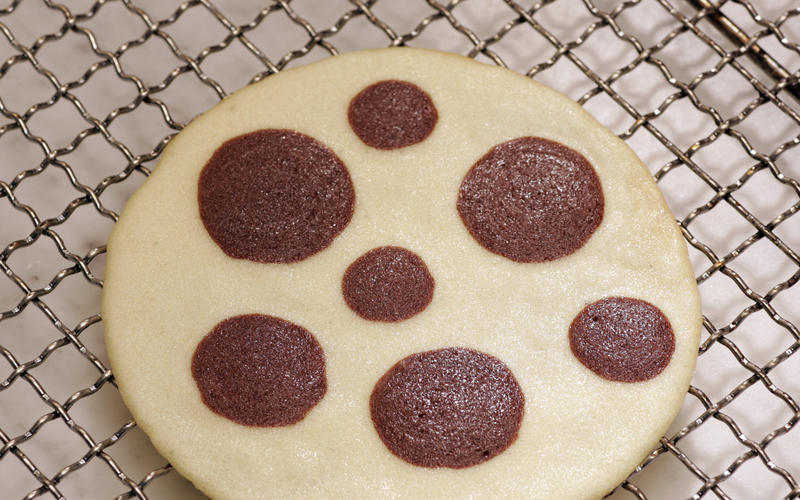
Step 6If making tuiles with designs (such as stripes or polka dots), fill a pastry bag fitted with a straight round tip (small or medium, depending on how big you want your stripes or dots) with the chocolate batter. Pipe stripes or dots directly onto the tuile (leave the stencil in place and lift it after piping on the designs). To make a web pattern, pipe stripes onto the tuile and then gently drag the tip of a knife or a toothpick across the stripes to create the desired effect.
Step 7Bake six tuiles at a time if you are making flat tuiles. If you are making shaped tuiles, bake three or four at a time so that you have time to handle them while still warm. Bake 6 to 7 minutes until lightly golden around the edges. Keep an eye on them over the last couple of minutes to make sure they don't get too dark.
Step 8Remove the tuiles from the oven and, if making flat tuiles, place them on a wire rack to cool. If molding any of the shaped tuiles, do so while they are hot from the oven. They'll cool quickly, so shape them immediately. For classic tuiles, drape them onto a rolling pin until cool. To make cups, drape tuiles over a small inverted ramekin, bowl or glass. For pirouettes, roll them around the handle of a wooden spoon. For cones, shape them by hand. Once the tuiles have been shaped, let them cool on a wire rack. They should be eaten the same day they are baked.